Making: A Desk Clamp for Light Panels
On a little bit of a tangent from my typical security posting, I thought I’d include some of my “making” efforts.
Due to the working from home for an extended period of time, I wanted to improve my video-conferencing setup somewhat. I have my back to windows, so the lighting is pretty bad, so I wanted to get some lights. I didn’t want to spend big money, so I got this set of Neewer USB-powered lights. It came with tripod bases, monopod-style stands, and ball heads to mount the lights.
The lights work well and are a great value for the money, but the stands are not as great. The tripods are sufficiently light that they’re easy to knock over, and they take more desk space than I’d really like. I have a lot of stuff on my desk, and appreciate desk real estate, so go to great length to minimize permanent fixtures on the desk. I have my monitors on monitor arms, my desk lamp on a mount, etc. I really wanted to minimize the space used by these lights.
I looked for an option to clamp to the desk and support the existing monopods with the light. I found a couple of options on Amazon, but they either weren’t ideal, or I was going to end up spending as much on the clamps as I did on the lamps. I wanted to see if I could do an alternative.
I have a 3D Printer, so almost every real-world problem looks like a use case for 3D printing, and this was no exception. I wasn’t sure if a 3D-printed clamp would have the strength and capability to support the lights, and didn’t think the printer could make threads small enough to fit into the base of the lamp monopods (which accept a 1/4x20 thread, just like used on cameras and other photography equipment).
I decided to see if I could incorporate a metal thread into a 3D printed part in some way. There are threaded inserts you can implant into a 3D print, but I was concerned about the strength of that connection, and would still need a threaded adapter to connect the two (since both ends would now be a “female” connector). Instead, I realized I could incorporate a 1/4x20 bolt into the print. I settled on 3/8" length so it wouldn’t stick too far through the print and a hex head so it wouldn’t rotate in the print, making screwing/unscrewing the item easier.
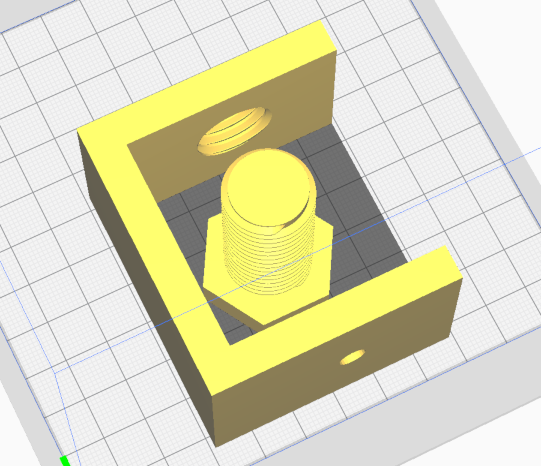
I designed a basic clamp shape with a 2" opening for the desk, and then used this excellent thread library to make a large screw in the device to clamp it to the desk from the bottom. I put an inset for the hex head in the top and a hole for the screw to fit through. When I printed my first test, I was pretty concerned that things wouldn’t fit or would break at the slightest torquing.
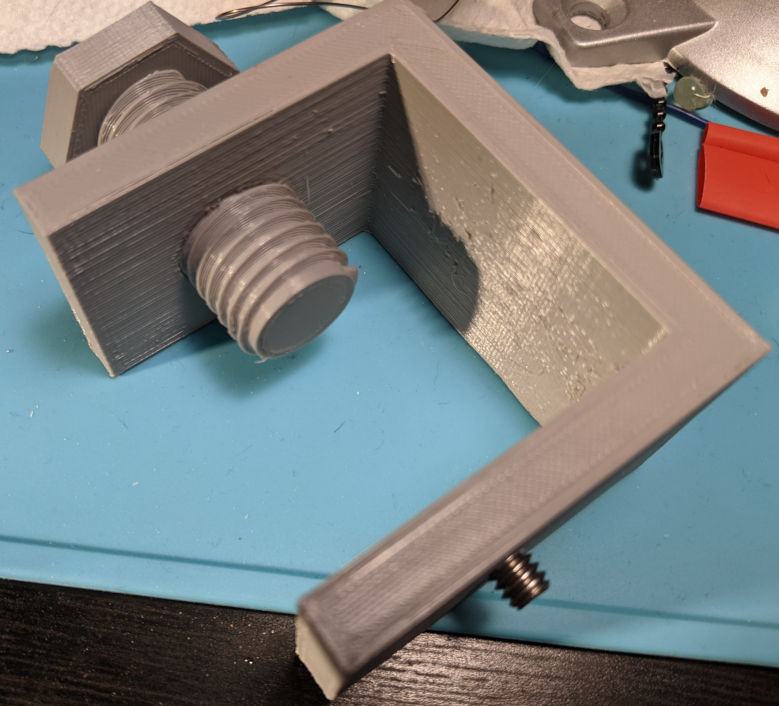
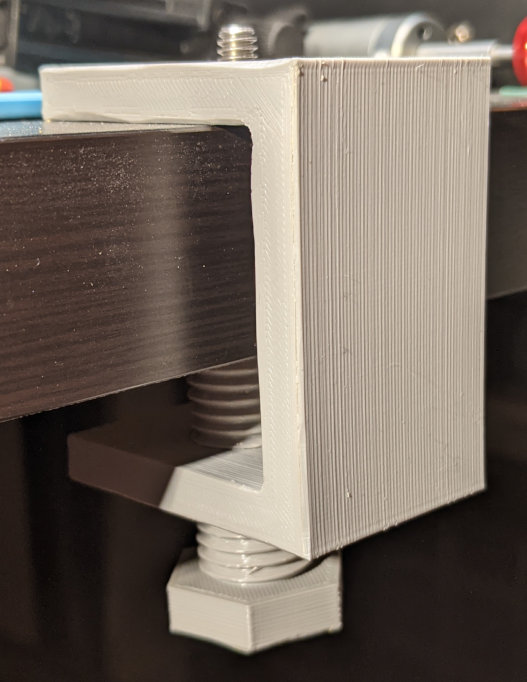
Much to my own surprise, it just worked! The screw threads on the clamp side were a little bit tight at first, but they work quite well, and certainly don’t come undone over time. I’ve now had my light mounted on one of these clamps for a few months and no problems, but I would definitely not recommend a 3D printed clamp for something heavy or very valuable. (If I’m going to hold up a several thousand dollar camera, I’m going to mount it on proper mounts.)
Note on printing: If you want to 3D print this yourself, lay the clamp on its side on the print bed. Not only do you avoid needing support, you ensure that the layers lines go along the “spine” of the clamp, rather than the stress separating layers.